I have decided to cut back on toys and focus more on learning activities. So the climber has been moved outside and we had a garage sale to get rid of some toys to create a space for art and sensory!
I emptied one of the toy organizers and it is now full of art supplies that the children can access at all times.
I bought some dr Seuss laminated fabric and laid it out for a splat mat, no sewing required!
Then I added a fun sensory table (from amazon that the children had gotten for Christmas) which right now is filled with neon colored noodles, shovels, and buckets. I stored the other sensory items (cotton balls and beans) in bins underneath the table.
The hanging buckets are from ikea and are filled with markers, pencils, and paint brushes.
Also from ikea is a magnet strip to hang finished projects from. We made caterpillars on leaves the other day which I just taped to the window or the little Princess would be picking off all our puff balls :)
It will be a fun, creative, and messy summer at our house!
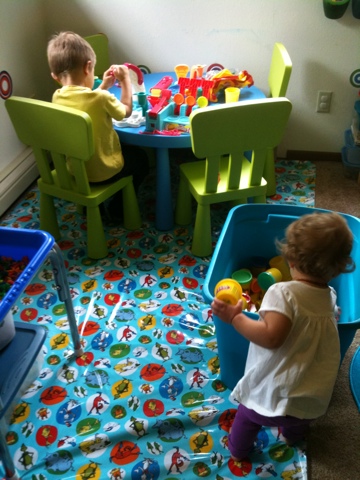
The kids wanted to break in their new area and so we decided to have some fun with play doh :)


